Chelsea’s Pavlova
This recipe is from my second cookbook, Everyday Delicious. Don’t be afraid of making a pav – they’re pretty easy if you understand a few simple things about them. And please don’t freak out and think you’ve had a fail if yours doesn’t look perfect – there’s no such thing, and I can tell you no two pavs are EVER the same (even in made in the same kitchen using the same recipe by the same person). Most crack, some weep, some sink a bit. Meh. Remember, whipped cream and fruit hides all!
Chelsea’s tips
- If you like a super-crispy beige coloured shell, have the oven preheated to 180c then change it back to 120c as soon as the pav goes in (you’ll get a few cracks with this method). I prefer to start at 120c, for a paler shell that’s still crispy.
- I used to think that old eggs should be used as they whip up better. Now I am of the opinion that while they may whip up quicker, old eggs are not as stable once whipped and when cooking. So I actually like to use fairly fresh eggs in my pavs these days! You live and learn…
- Bring your eggs out of the fridge a few hours before, as I find room temperature eggs whip up best.
- Use an electric beater, or a benchtop cake mixer with the whisk attachment.
- Use a metal or ceramic bowl to beat the eggs whites, not plastic. Plastic bowls hold on to the grease from things you may have had in there previously. Egg whites hate grease – it stops them reaching their potential volume.
- For grease-free utensils, dip a paper towel in some vinegar and wipe the bowl/whisk clean. Make sure all your utensils are scrupulously clean before you start.
- Keep the eggs whites completely free of yolk. To be safe, break each egg into a clean mug before it goes into the main bowl. That way, if you have a fail, you only ruin one egg instead of eight! Get any bits of shell out, too, using a clean spoon.
- Use caster sugar – it dissolves faster than standard sugar.
- Electric beaters and mixers can have pretty powerful motors – use a medium speed when you first beat the egg whites before the sugar goes in. Once you start adding the sugar, then you can turn it up to a medium-high speed.
- Leave the oven door shut while cooking, then cool the pavlova in the oven with the door closed. Don’t open the door at all as the sudden temperature changes can cause it to crack, and worse.
- Pavs can weep and collapse for different reasons – overcooking, undercooking, overbeating or not dissolving the sugar properly before cooking. Humidity can also affect a pav (there’s not much you can do if it’s raining or muggy). That’s why we don’t worry too much if there are imperfections. Love your pav for what it is.
- You’d be surprised at how much temperatures can vary in ovens, even the new ones – they can run hot or cool by a whopping 20c – so if your pav is under or overcooked or overcooked (and the rest of your baking tends to fail), this could be why! Invest in a good oven thermometer and check – then adjust your temperature.
- There’s a bit of a balance that needs to be achieved with a pav. You want all the sugar to be dissolved fully before the pav goes into the oven. However, you don’t want to overbeat the mixture either – it should take around 10 minutes of beating in total. The mixture, by the end, should be very thick and glossy, and free of traces of sugar when you rub the mixture between your fingers.
Ingredients
8 free-range eggs, at room temperature
1 ¾ cups caster sugar
2 tsp cornflour, sifted
2 tsp white vinegar
2 tbsp just-boiled water
Whipped cream to serve (they do plant-based whipping cream nowadays at good supermarkets – the brand is Flora)
Fresh fruit to serve
Method
First, read the tips above.
Preheat the oven to 120c regular bake (110c fan bake).
Set an oven rack below the centre of the oven. Line a baking tray with baking paper, use a little butter or oil to stick it to the tray and stop it swirling around. Use a dinner plate (around 25cm in diameter) to stencil a circle on to the paper – use this as a guide for the pav on later. Spray with a non-stick baking spray.
Place an oven rack just below the centre of the oven.
Separate the eggs one by one into a clean mug, then tip into the clean whisking bowl.
Start the beater/whisk on a medium-low speed and whisk the eggs whites until firm peaks form – this means when the whisk is lifted from the mixture, the egg white should form a peak which stays upright and curl over a little bit at the end, and the mixture will be shiny and moist looking. Careful not to over-beat at this stage – if you do, the sugar may not mix in with the egg whites properly.
Increase the beater speed to medium-high and start gradually adding the caster sugar to the egg whites – do this a tablespoon at a time, with the beater running, from the sides (not dumped in the middle), beating for about 10 seconds after each addition. This should take about 6-7 minutes. Scrape down the sides every now and then with a spatula to get the stray sugar granules.
Add the sifted cornflour and vinegar with the last spoonful of sugar, then continue to beat/whisk for another 30 seconds. Rub some mixture between your thumb and forefinger – you shouldn’t feel any sugar grit. If you do, keep beating for 20 second chunks until it’s smooth.
Lastly add the boiling water, and beat 15 seconds.
Scrape the mixture out onto the lined baking tray into the circle you’ve drawn. Use a spatula to smooth it into an even circular shape.
Make a series of smooth upward sweeps all along the sides of the pavlova. This helps give it structure and will help prevent it sinking or crumbling later on.
Place the tray on the rack just below the centre of the oven, leave for 5 minutes then turn the oven down to 120c regular bake.
Bake for a further 1 1/2 hours. Don’t open the oven door while it’s cooking. After the 1 1/2 hours is up, turn the oven off and leave to cool without opening the door for at least 3 hours. If you see a few cracks, this is totally normal, don’t fret. If you see a little bit of weeping, that’s cool too. No two pavs will ever turn out the same – even mine don’t. Just cover it with cream and you’ll be sweet.
Your naked pavlova can be kept in a clean, airtight plastic container for 1-2 days. (Not the fridge!)
If the outside has gone a bit soft by the time you want to serve it, you can crisp it up again for 15 – 20 minutes in a 150c oven.
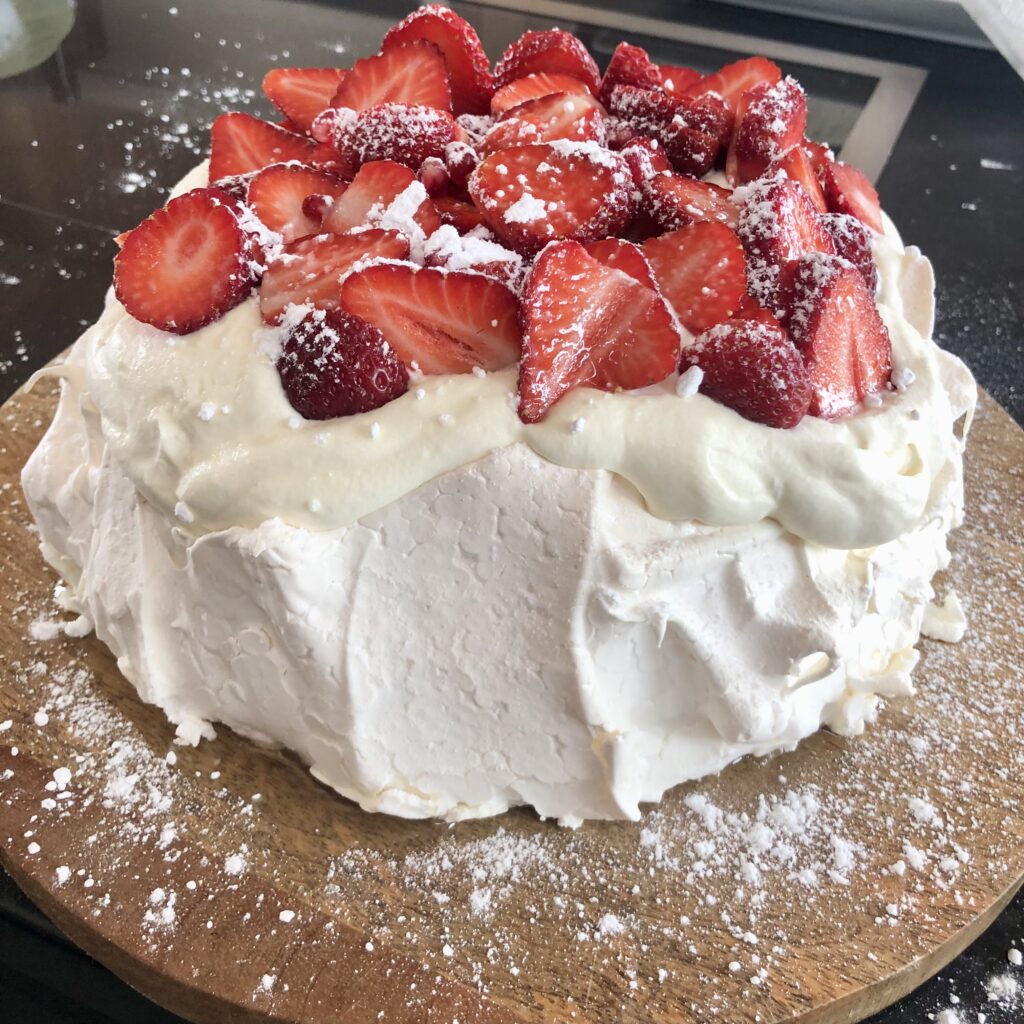
When you’re ready to serve, decorate with whipped cream and fresh fruit – you can’t beat berries at Christmas!